
I promised that I’d post a step-by-step guide on how to create a zero-touch, hardlinking USMT task sequence in SCCM 2007 to help refresh your systems from XP to Windows 7, so here it is. I realize that Windows 8 is the current release, so I will do this same tutorial for a SCCM 2012 and Windows 8 at a later time.
It can be a daunting task- building a task sequence from scratch. Luckily, you don’t really have to do that with SCCM anymore. The MDT integration is awesome and I highly recommend it. Besides all of the great features, it gives you some great task sequence templates. In my humble opinion, these are a great start and work great out of the box, but I’m also sort of a minimalist. I want everything in a task sequence to serve a purpose, I want it to be clean, and I want it to comprehensively give me all the tools I need but also have as few points of failure as possible. The default MDT task sequences in SCCM are BIG. Learn what all those weird steps do (validation, tattooing, etc)… they might be very useful for you.
For this tutorial, I’m going to create a base task sequence that I use for several of my engagements with clients. Essentially, it has the bare bones to achieve the complete hardlinking sequence.
Make sure your SCCM 2007 enviornment is healthy and capable of doing deployments. Also ensure that your Distribution Point and Management Point are working well… we’re going to be making lots of packages. But really, go check the component status in the console!
Integrate MDT 2010 Update 1 (or newer) with SCCM 2007 SP2 (R2+ preferable).
Make sure that you have working boot images. You’ll need them!
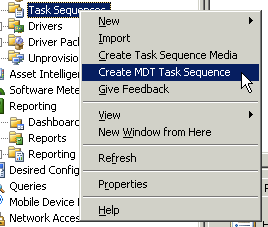
If you haven’t created a default MDT task sequence yet in the SCCM console, go ahead and do that. In going through that wizard, you’ll create all of the packages needed for our custom task sequence (USMT files, MDT files, Unattend/Settings files, etc).
Once you’ve gone through and created all of those packages, we’re ready to go. I’m going to assume that you already have a capture WIM that you want to deploy- this task sequence will only support a WIM, and not a set of Windows 7 install binaries.
You should have all of the prerequisites out of the way now.
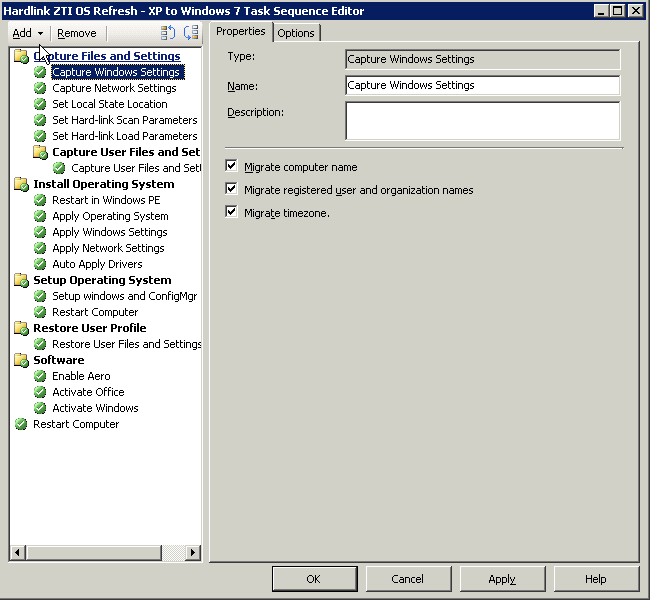
Here’s a screenshot of my task sequence. It’s pretty bare, but that’s the point… make it your own! It’s available to download at the bottom of this post. As you can see, we’re going to run the USMT capture/scanstate with default settings.
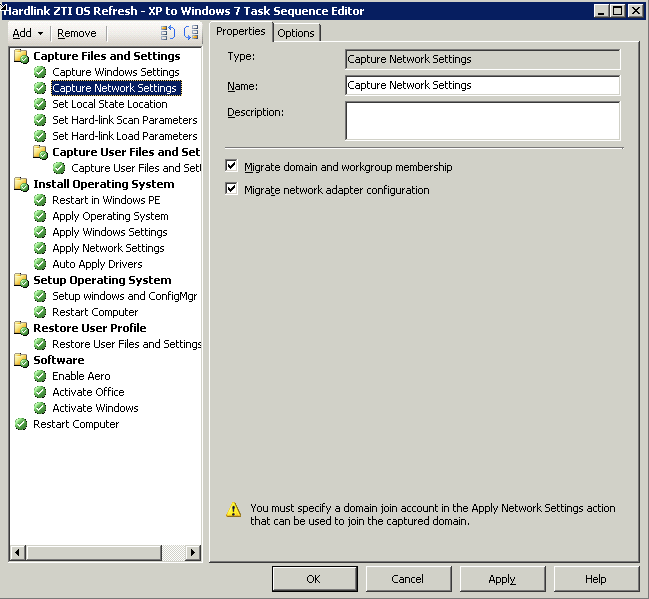
Not too much customization on Capture Network Settings, either.
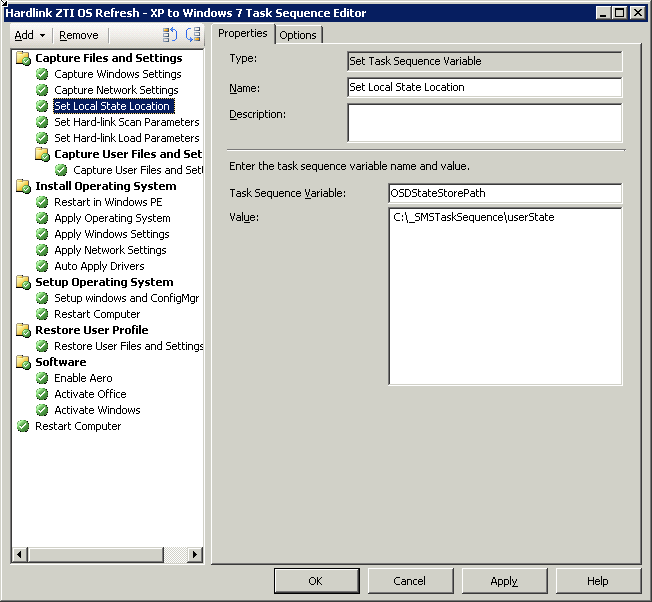
The next step is setting a Task Sequence Variable, called OSDStateStorePath. Set this value to C:_SMSTaskSequenceuserState . This is where your migration files will be stored while the rest of your drive is wiped.
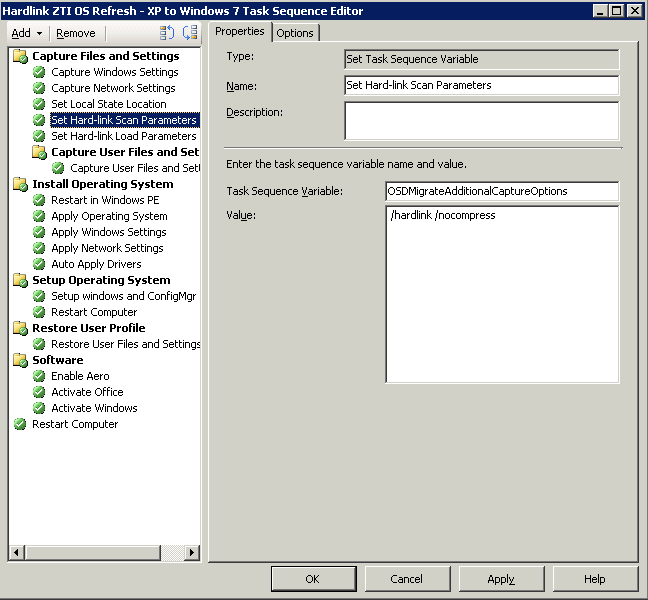
Next, set another task sequence variable, OSDMigrateAdditionalCaptureOptions. Use /hardlink /nocompress as the value.
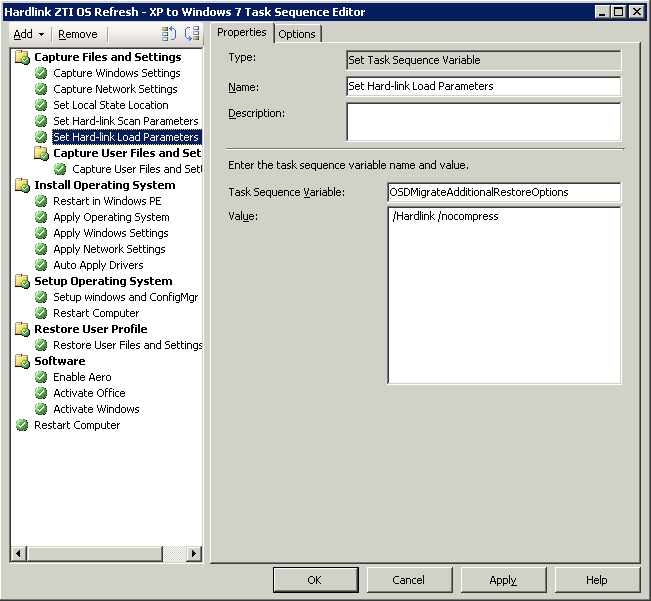
Set another task sequence variable- OSDMigrateAdditionalRestoreOptions. Use the value /hardlink /nocompress .
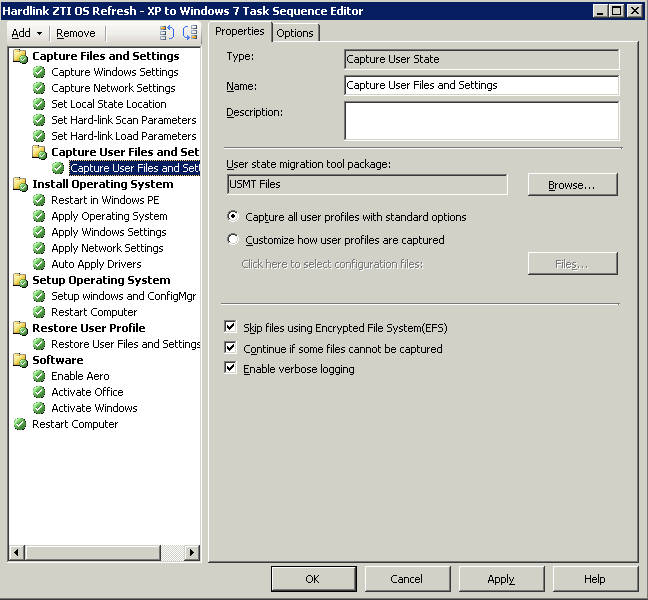
Now, with all the parameters set, we can run the capture. Choose Capture User State under the User State menu. I usually skip EFS-encrypted files, enable verbose logging for troubleshooting, and continue on error. These selections usually prevent some snags.
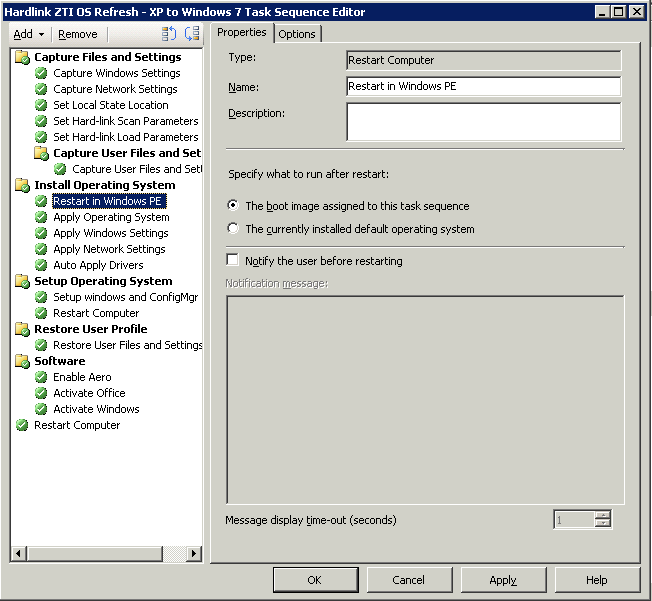
At this point, the capture is done and the system needs to reboot back into WinPE (we’ve been inside the OS up until this point). Insert a reboot and choose to boot back into WinPE.
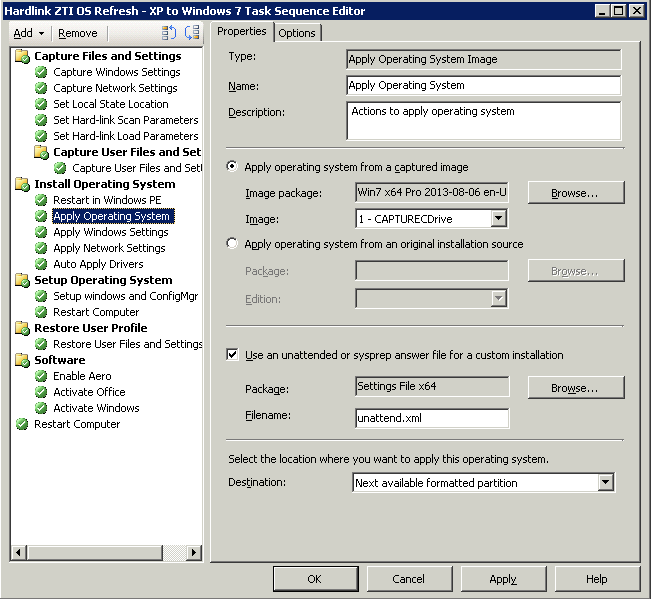
Now we’re going to apply the WIM that you’ve already captured or grabbed from other media. You can use the unattend.xml file that was created for in the Settings package that was created by importing the MDT Task Sequence earlier… just make sure that it matches your OS architecture (32-bit or 64-bit)!
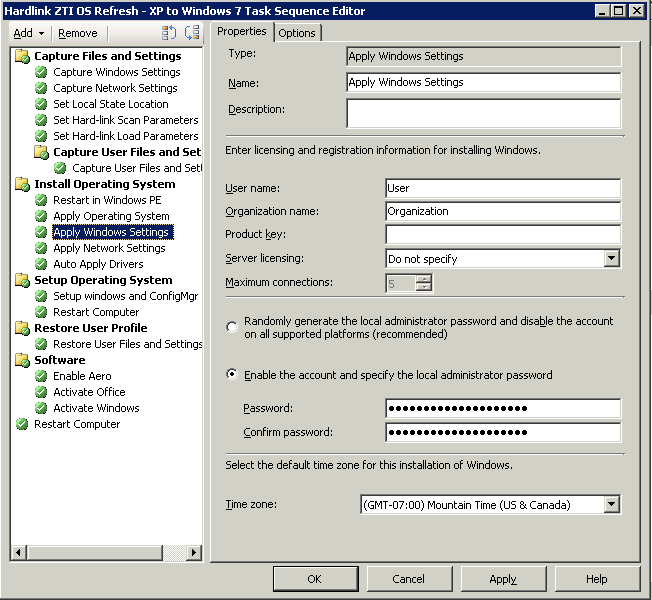
Apply Windows Settings next. Input your user, organization, key, and timezone. Set the local admin password, if desired.
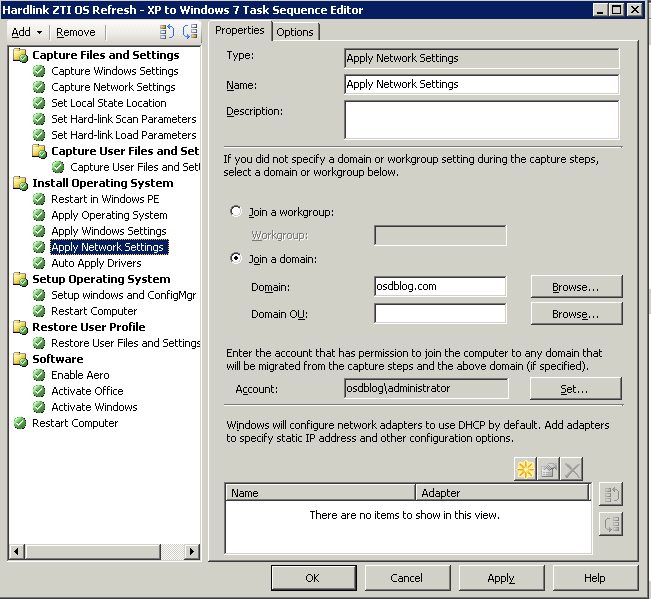
Apply Network settings next. Specify your domain, OU, and domain-joining service account.
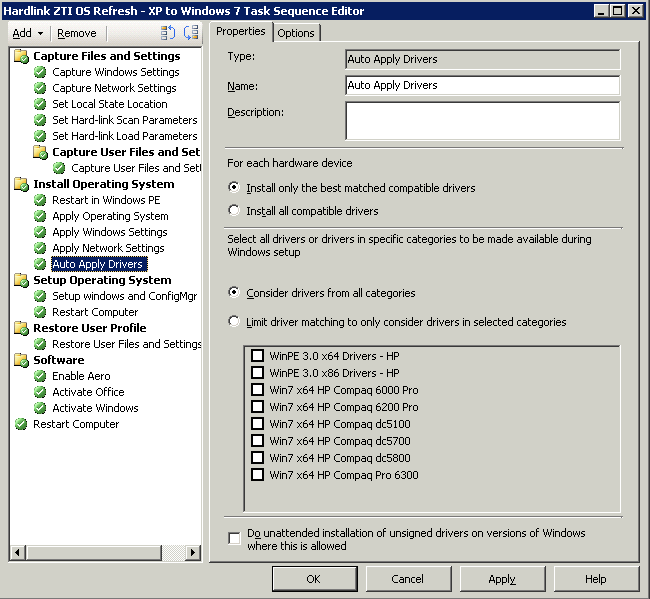
Apply your drivers next. This is not the way I usually do it (I recommend using driver packages), but this is just a demo.
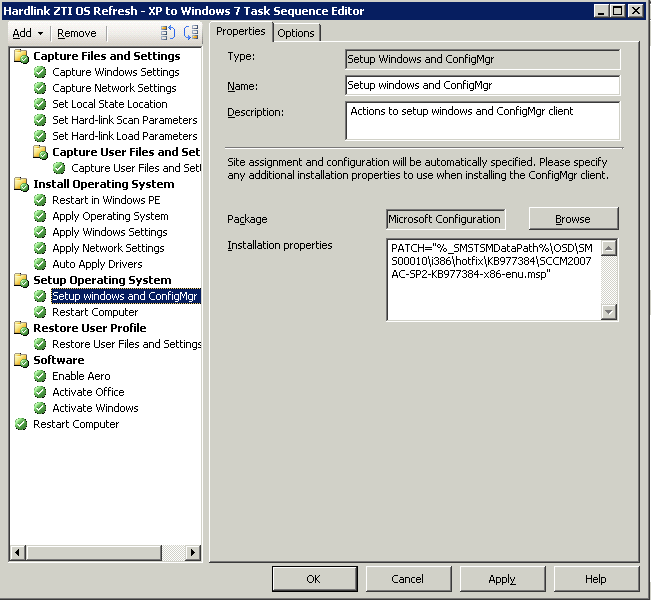
On the next step, use Setup Windows and ConfigMgr. As you can see, I have the patch applied for R3 during the task sequence. I’d recommend applying the latest cumulative patch possible that matches your environment.
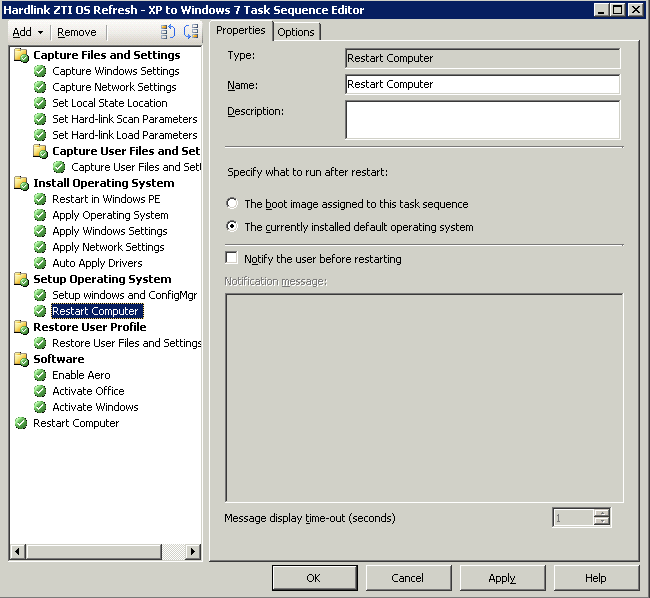
Insert another restart, but this time boot into the OS.
Next, we’re going to Restore User Files and settings… essentially the USMT loadstate. This step will use the parameters we set earlier, even though the system has restarted several times since. This step is located under the User State drop down.

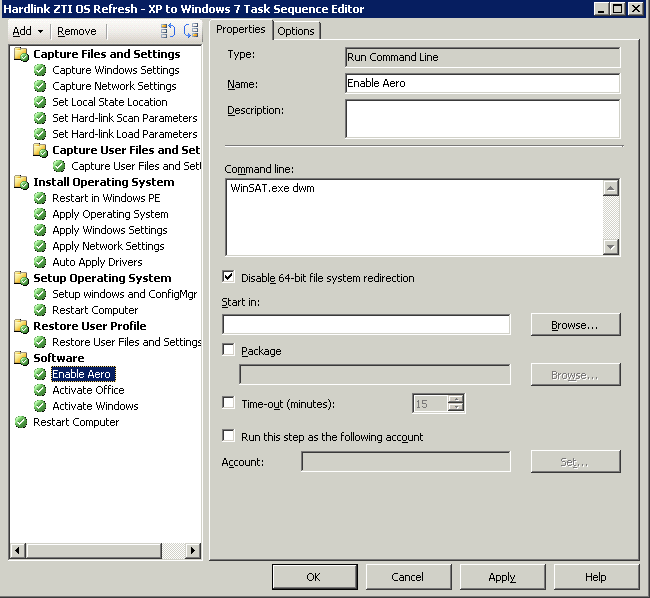
These next few steps are optional, but I like to throw them in if they’re applicable. Aero doesn’t always get enabled by default in my images, so I often add a step to turn it on during the task sequence. Use a Run Command Line, and use WinSAT.exe dwm for the code.
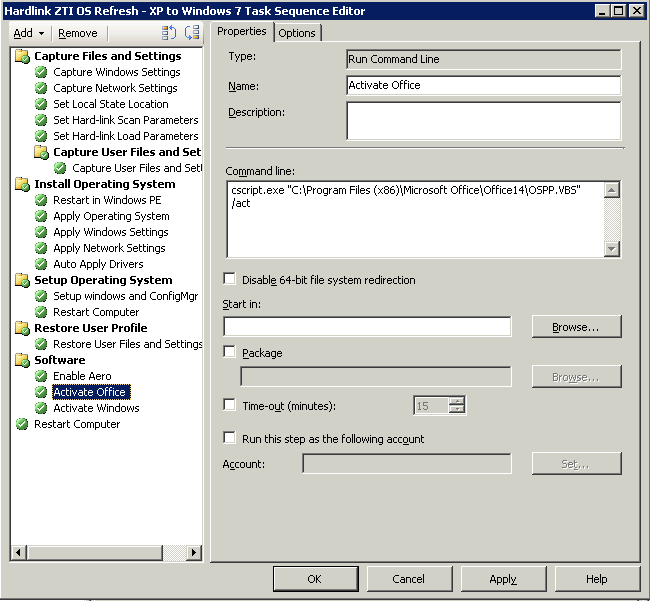
Now, I’m going to activate Office 2010, since it’s in this particular image. This specific command applies only to 32-bit Office 2010 installed on a 64-bit Windows 7 OS. The command for this is: cscript.exe “C:Program Files (x86)Microsoft OfficeOffice14OSPP.VBS” /act
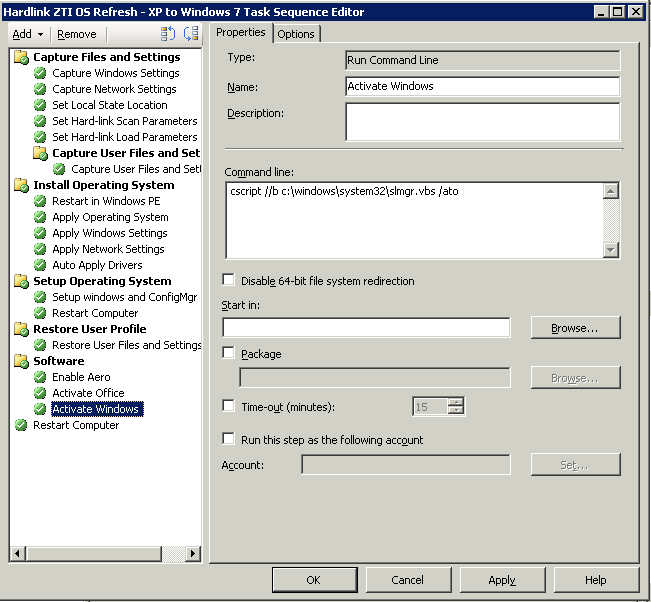
I also like to activate Windows. The command for this is: cscript //b c:windowssystem32slmgr.vbs /ato”
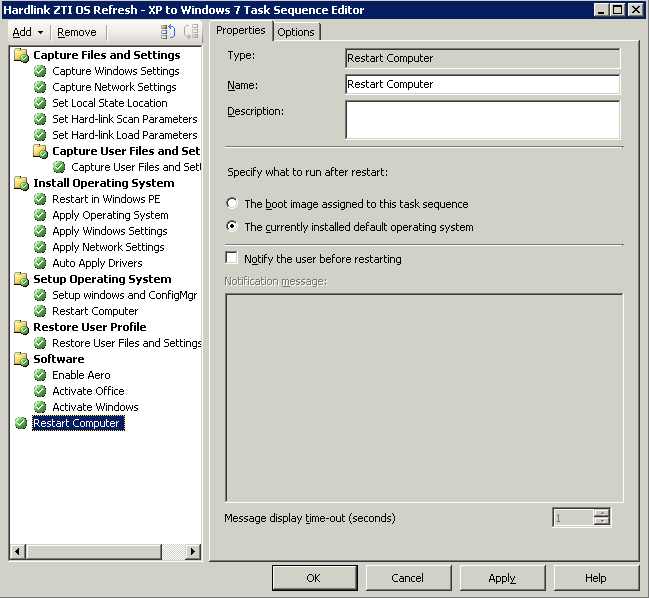
At this point, you’re probably good. I usually throw in another reboot for good measure. This is a great point to install software, updates, and further customize your deployment.
Remember, this task sequence is designed to be launched inside an OS only- I wouldn’t recommend even making it available to boot media and PXE- launch it with an advertisement.