
*****Update 2017/02/01 – You no longer need to download the ZIP file to import the SCCM task sequence for the upgrade to Windows 10. It is now an available task sequence in the current branch build of Configuration Manager.
Yes, only two steps!
Now that Windows 10 is available, I want to demonstrate how easy it is to deploy using System Center Configuration Manager. If you’ve previously deployed Windows 7/8 upgrades using SCCM, Windows 10 is an entirely different ballgame. The biggest difference is that in-place upgrades are now an option. You no longer have to worry about USMT customization, application migration, or other complicated configuration- it just upgrades in-place and keeps everything. If you’ve done Windows OS migrations in the past, you know this saves a ton of work. You can still do deployments using the same methods used before, but this is just an easier way to upgrade current systems.
Note that you must be running SCCM 2012 R2 SP1 or SCCM 2012 SP2 to use this feature. Check out an earlier article I posted for guidance on this upgrade.
Step 1: Import the Windows 10 Upgrade task sequence and media
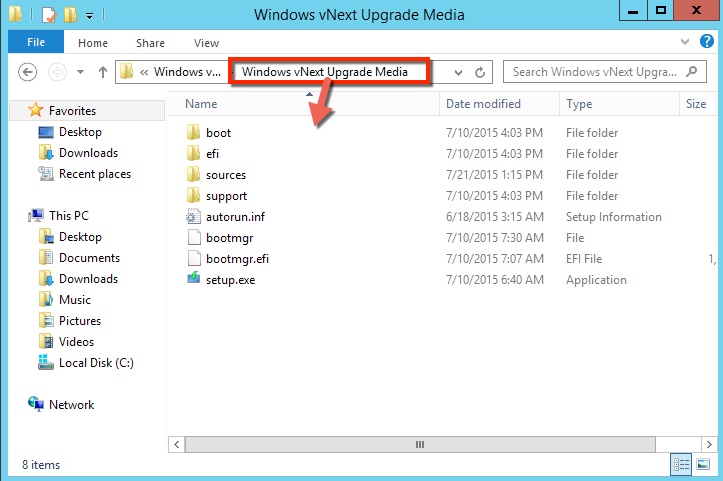
Grab the Windows 10 Upgrade task sequence from this TechNet blog article by Aaron Czechowski. The files are in a zip file at the bottom of the page. Extract the zip file to a directory that is suitable to serve as the location for the package source before you import them (this location is easy to change later if you need to). After the zip file is extracted, copy your Windows 10 Enterprise media into the folder named “…\Windows10Upgrade2012R2SP1\Windows vNext Upgrade_files\Windows vNext Upgrade Media“. This includes all of the files and folders from the root of the Win10 ISO, so it should look like this:
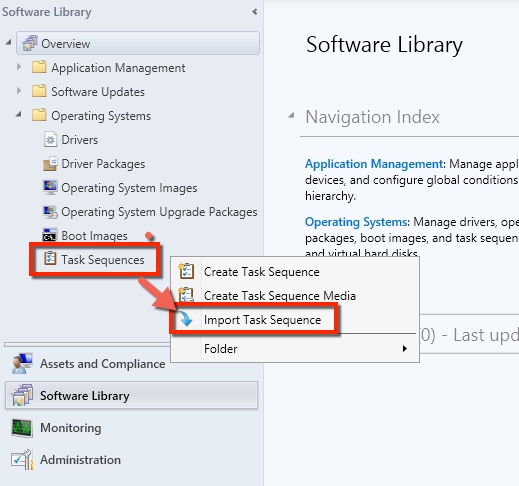
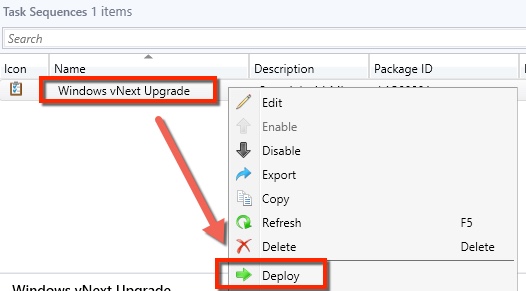
Import Windows vNext Upgrade.zip into SCCM by going to the Software Library, right-clicking Task Sequences under Operating Systems, and choosing Import Task Sequence.
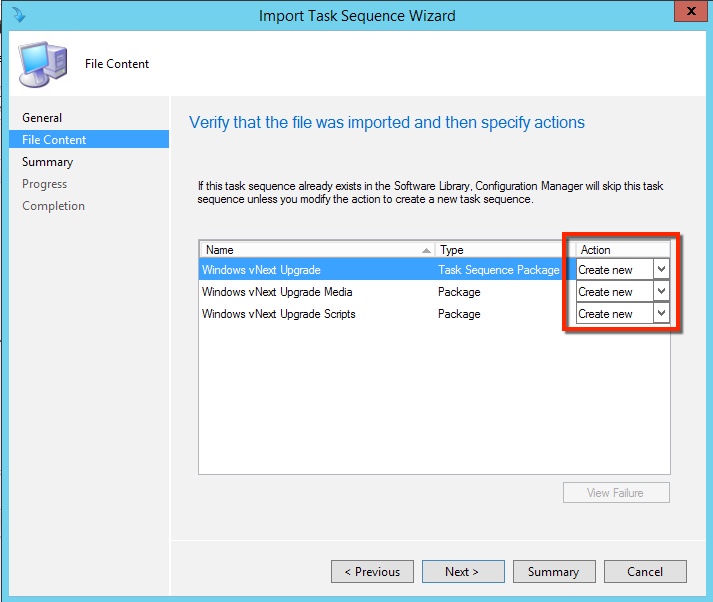
This new task sequence will also create a couple new packages required for deployment. Be sure to copy these out to all applicable distribution points after the wizard.
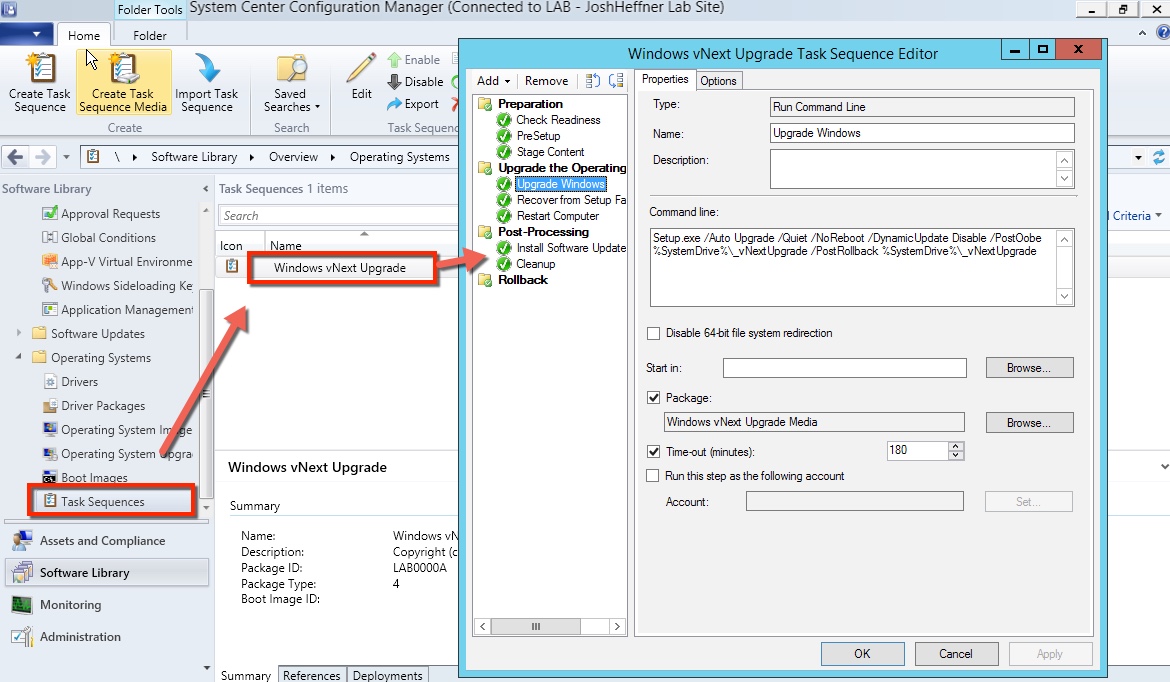
You can view the imported task sequence now in the console, but no changes are required.
Step 2: Deploy the task sequence to your systems
This task sequence does not use any boot images, OS Installers/Images, or any other content normally required for OS deployment – just the two packages created during the import process.
Deploy this task sequence the same way that you would do any other deployment. In this test, I’ll be creating an optional deployment to a Windows 8.1 Enterprise system. Of course, you have the option to schedule the deployment, give it a deadline, and choose to make it optional or required.
Once the targeted SCCM client checks in and finds the new deployment (also depending on what options you used during configuration), it will now be available to install.
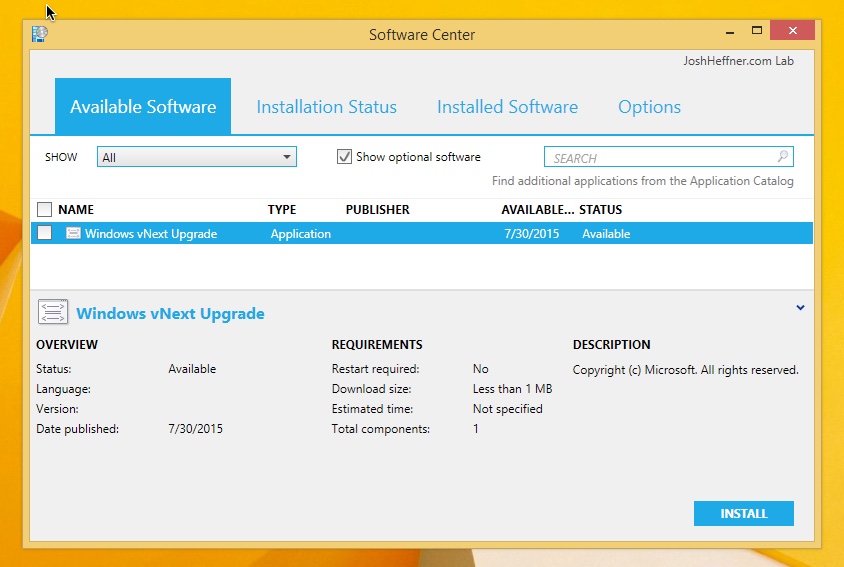
Once you choose Install, no more user input should be required.
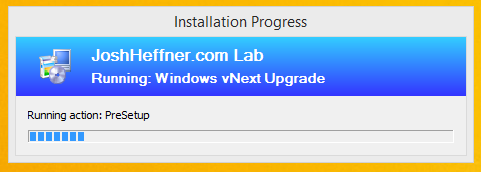
And we’re off.
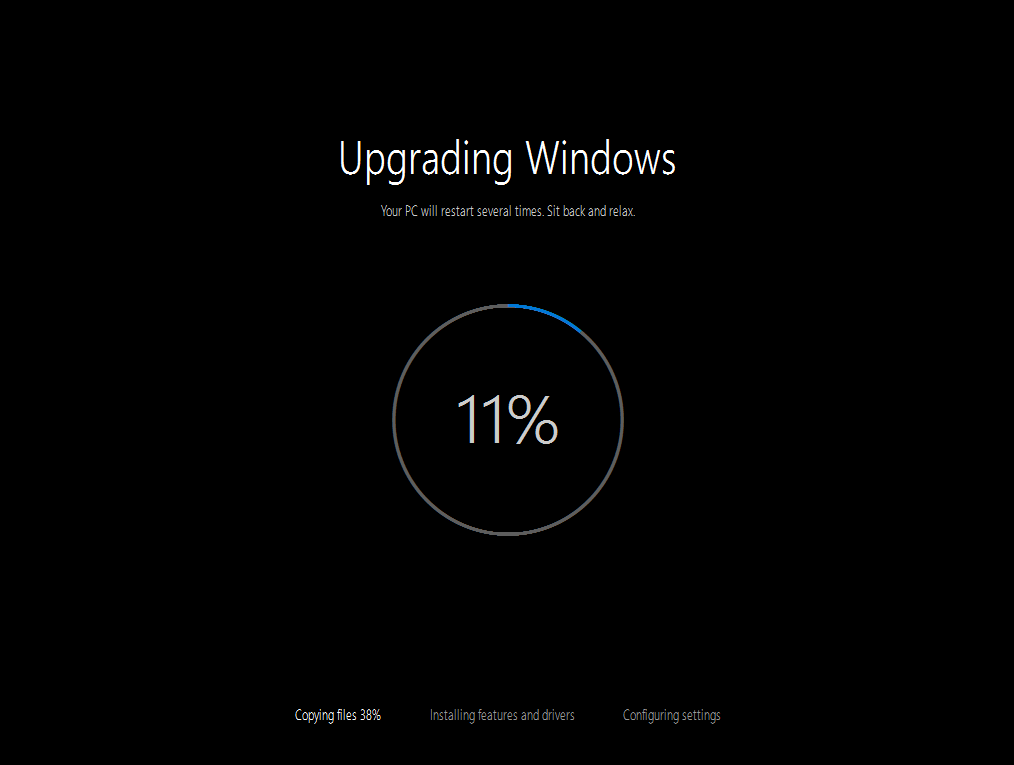
Wasn’t that easy? When installation completes, everything should still be in place (applications, profiles, settings, etc) and you should be able to log onto the domain like usual.
Thanks for reading! Leave a comment if I can answer any questions.